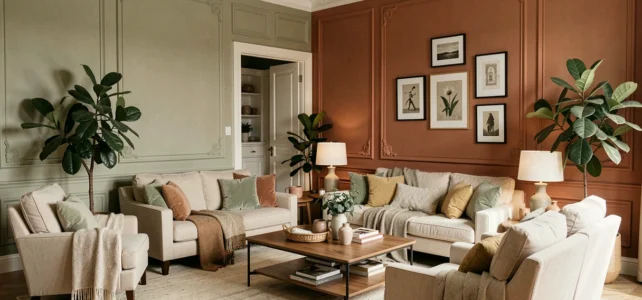
A freshly painted wall that warps after six months, a poorly positioned light fixture that overwhelms the room, a trendy color that becomes tiresome daily: most decoration failures come from the finishes, not the furniture. We have gathered ten concrete techniques, tested in the field, to transform a decent interior into a lasting space.
1. Baseboards and moldings to structure a flat wall
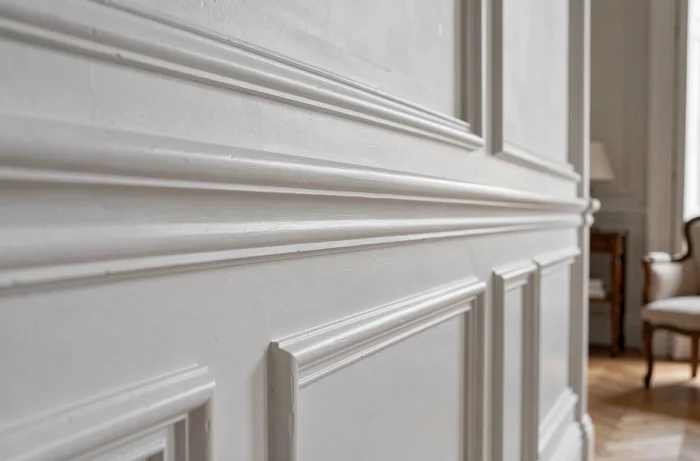
A smooth wall without relief gives an impression of temporary housing. Installing MDF or polyurethane moldings at the bottom (wainscoting) or as framing immediately creates a sense of depth. Cut, glue, and paint over in the same tone as the wall.
The result entirely depends on the quality of the jointing. An acrylic joint smoothed with a damp finger between the molding and the wall masks irregularities. Without this step, the finish appears amateurish under low lighting. To delve deeper into the tips and finishes for interior decoration, it’s beneficial to compare several profiles of moldings before getting started.
2. VOC label and paint choice: the finish starts with the air we breathe
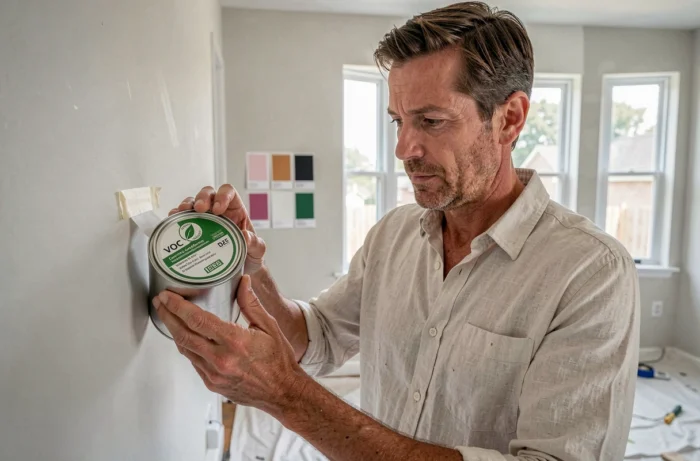
Since September 1, 2013, all interior decoration products (paints, varnishes, coatings) carry a label indicating volatile pollutant emissions, rated from A+ (very low emissions) to C (high emissions), in accordance with Article L.221-10 of the Environmental Code. This label covers formaldehyde, total VOCs, and nine other common substances like toluene or xylene.
Choosing a “stylish” satin paint without checking this label means neglecting the air quality in the room you claim to enhance. Always prioritize products rated A+, especially in a bedroom or closed living room.
3. Drenching: painting walls, baseboards, and woodwork in the same color
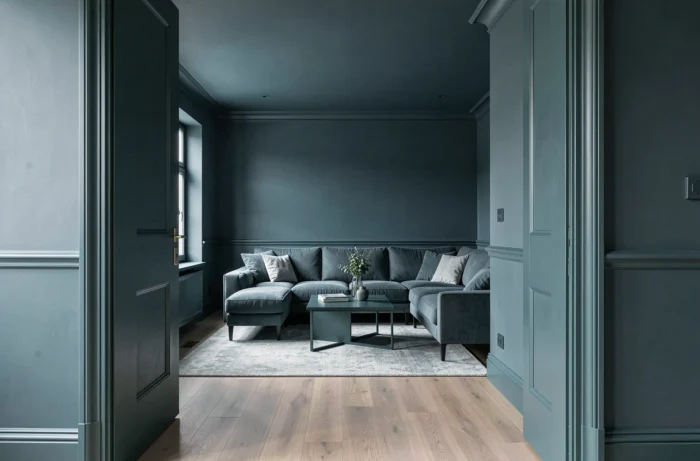
Drenching involves applying a single color to all surfaces of a room, including walls, ceiling, baseboards, and door frames. Far from overwhelming the space, this technique visually expands the volume by eliminating break lines between surfaces.
The common trap: using the same finish everywhere. Matte is applied on the walls to absorb light, satin on the woodwork for easier maintenance. Color consistency does not mean texture uniformity. Feedback on this point varies depending on the room’s natural light, but the matte/satin contrast works in most configurations.
4. Three-layer lighting: general, functional, ambient
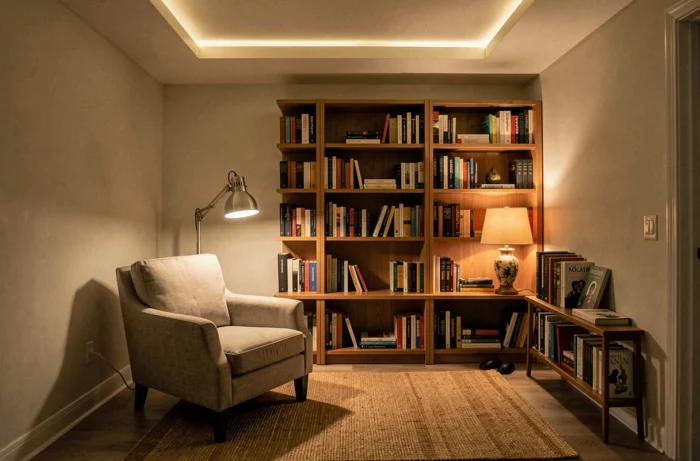
A single ceiling light in the center of the room flattens reliefs and removes any depth. Structure the light in three levels:
- General diffuse lighting (suspension or ceiling light with indirect flow) for a homogeneous base without harsh shadow areas
- Functional lighting (desk lamp, reading lamp, under-cabinet spot) directed at work areas
- Ambient lighting (recessed LED strips, table lamp, candle) to modulate the atmosphere in the evening
Layering these three types provides total control over the ambiance of each room, from the living room to the bathroom.
5. Hard oil on raw wood: a finish that ages better than varnish
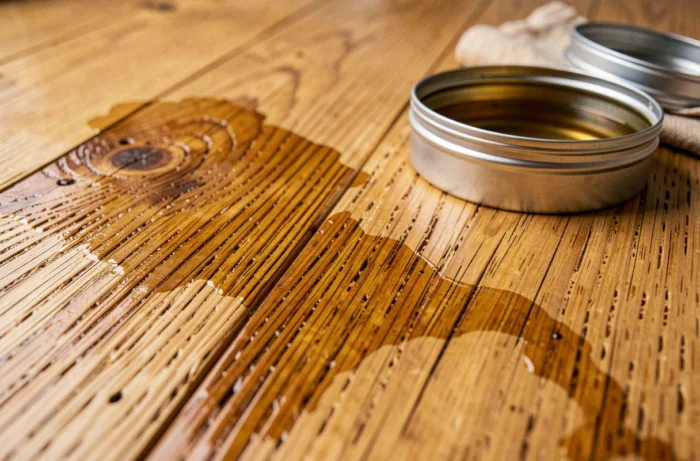
On a table, countertop, or vintage furniture, hard oil (like Rubio Monocoat or equivalent) penetrates the fiber instead of forming a surface film. The wood remains visible to the touch, retains its grain, and minor scratches can be touched up locally without sanding the entire piece.
Polyurethane varnish gives a shiny finish that eventually chips in high-friction areas. Hard oil can be touched up area by area, making it much more suitable for living or dining room furniture that undergoes daily use.
6. Mirrors positioned facing a natural light source
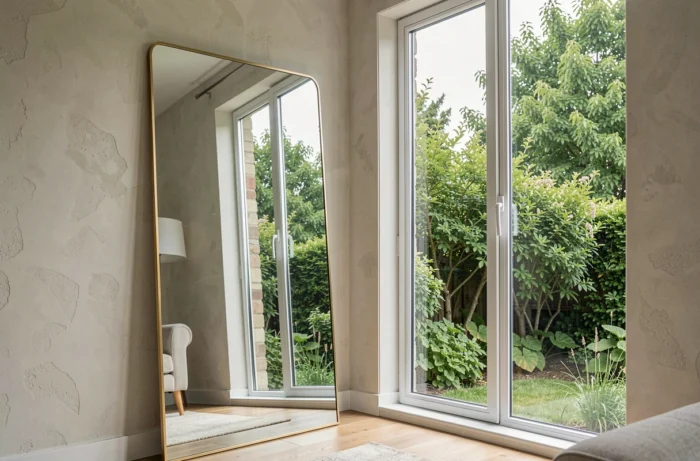
Placing a mirror on the wall opposite the main window doubles the perceived depth and redistributes natural light throughout the room. The effect is pronounced in narrow spaces (hallway, entry, studio).
Avoid placing a mirror facing a dark wall or a cluttered corner: it would reflect the disorder and reinforce the feeling of tightness. The simple rule: the mirror reflects what you want to show, not what you want to hide.
7. Layered textiles to break the monotony of a sofa
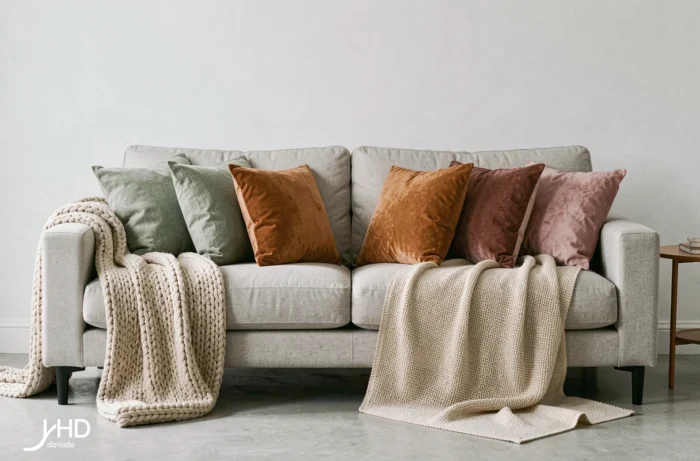
A solid-colored sofa becomes dull after a few months. Layer a wool or linen throw, two to three cushions in different materials (velvet, woven cotton, jute), and vary the shapes rather than the colors.
The common mistake is to multiply shades. Sticking to a tight palette of two to three tones, playing with texture, creates a more sophisticated ambiance than a rainbow of mismatched cushions.
8. Potted plants of decreasing sizes to create perspective
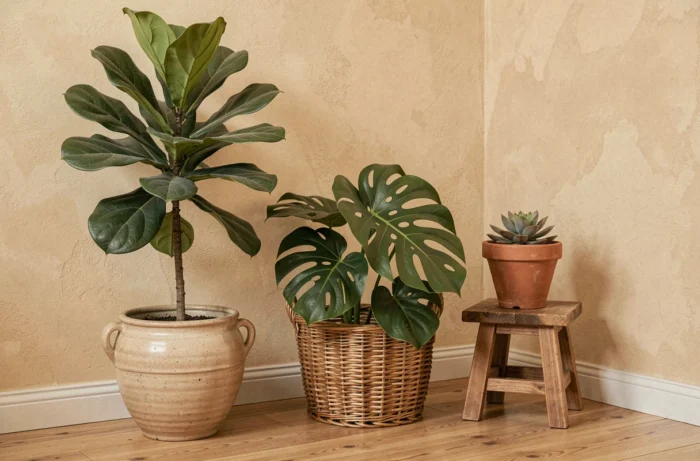
Aligning three plants of different heights (tall at the back, medium in the middle, small in front) simulates natural depth in a dead corner. Choose pots made from the same material (terracotta, concrete, rattan) to maintain a cohesive style.
Plants are also an indicator of air quality. In a recently renovated room, foliage that yellows quickly may signal a still high VOC level, especially if the products used were not rated A+.
9. Replacing faucets and door handles
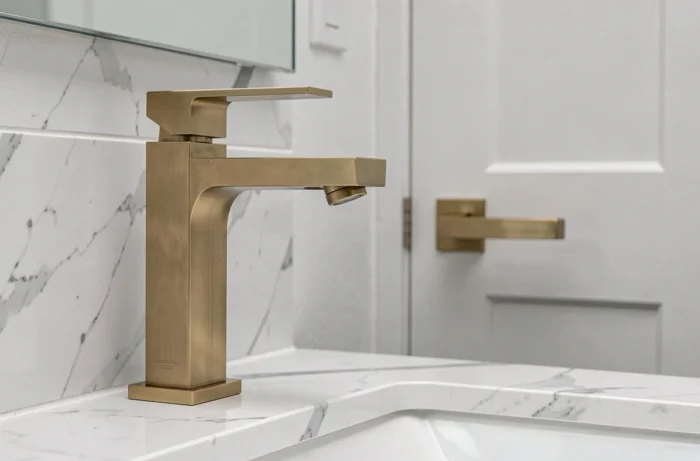
Hardware is often underestimated. Replacing white plastic door handles with brushed brass or matte black models transforms an entire hallway. The same principle applies to bathroom faucets: a well-designed mixer changes the perception of the entire room.
The cost remains moderate compared to the visual impact. Just ensure to keep the same metallic finish (brass, black, chrome) throughout the room to avoid a patchwork effect.
10. Frames aligned with a string on an accent wall

A wall of frames placed “by feel” rarely yields a clean result. Draw a horizontal line at eye level (about the upper third of the wall) and align the bottom edge of each frame along this line. The regular spacing between the frames matters as much as their content.
A rigorous alignment then allows mixing formats (photo, poster, illustration) without the whole appearing messy. Use repositionable masking tape to test the layout before drilling.
Interior decoration rarely hinges on a standout piece of furniture or a centerpiece. It’s the finishes, the coherence of materials, and the attention to detail (jointing, hardware, lighting positioning) that elevate an interior from “acceptable” to “refined”.