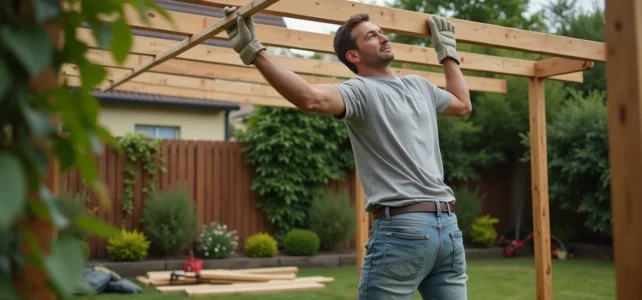
The wooden pergolas sold in kits at Brico Dépôt are appealing due to their affordable price and ready-to-assemble format. The principle seems simple: posts, beams, screws, and an instruction manual. However, the reality of the construction site holds some surprises that the product sheet does not detail. From the choice of ground, administrative obligations, to coverage options, several decisions made even before opening the first box determine the durability of the structure.
Urban planning formalities for a wooden pergola: what the manuals do not specify
DIY content often summarizes regulations to a single threshold. The administrative reality is more fragmented. A pergola with a ground area of less than five square meters generally does not require any steps. Between five and twenty square meters, a prior declaration of work must be submitted to the town hall.
Beyond twenty square meters, a building permit applies. This threshold can be raised to forty square meters in urban areas covered by a local urban plan. A Brico Dépôt kit measuring three by four meters, or twelve square meters of footprint, therefore falls into the prior declaration category, a point that many DIY enthusiasts discover afterward.
The risk is not limited to a fine. A neighbor can report the construction, and the town hall may require dismantling. Checking the PLU of your municipality before purchasing the kit avoids this scenario. Certain areas (historic monument perimeter, classified site) impose additional constraints on materials or height.
Before starting to install a Brico Dépôt wooden pergola, it is necessary to compile a file with a site plan, cross-section plan, and landscape insertion photos. The processing time for a prior declaration is generally one month.
Ground preparation: the aspect that kits do not provide
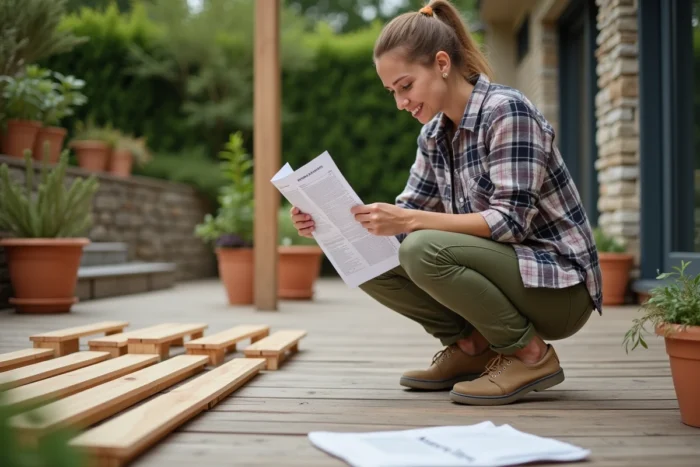
The kit contains the structure. It never includes the ground support, yet it is what determines the stability of the whole. Placing a wooden pergola directly on loose soil or grass guarantees settling in the months that follow.
Concrete footings or existing slab
Two reliable options exist. The first: pour concrete footings at each post, buried below the frost line (which varies by region). The second: fix the plates onto an existing concrete slab or terrace that is sufficiently thick. In both cases, the ground must be perfectly level. A few millimeters of difference between two posts results in a visible offset on the upper beams.
Check the nature of the ground
Clay soil expands and contracts with the seasons. Sandy soil drains well but offers less bearing capacity. These characteristics influence the depth of the footings and the type of anchoring. Height-adjustable plates, sold separately, compensate for slight unevenness, but do not replace a stable support.
- Concrete footings: suitable for loose soils, they anchor each post below the frost line and prevent lifting
- Fixing on slab: the quickest solution if the slab is flat, using mechanical anchors suitable for the thickness of the concrete
- Adjustable plates: they compensate for a few millimeters of difference, no more, and do not correct an unstable ground
Pergola coverage: a choice that alters use and maintenance
A wooden pergola delivered in a kit often arrives without coverage, or with simple spaced slats that filter sunlight without protecting against rain. The choice of top covering radically transforms the function of the structure.
Polycarbonate offers complete protection against the elements while allowing light to pass through. In return, it can create a greenhouse effect in hot weather and requires regular cleaning to remain transparent. The retractable fabric allows for shading adjustments depending on the time of day, but its lifespan depends on the quality of the fabric and UV exposure.
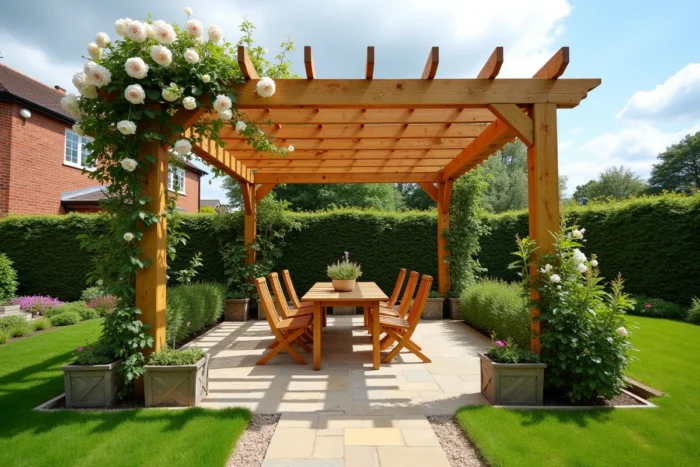
Reed (bamboo, willow, PVC) represents the least expensive option. They create partial shading and a natural aesthetic, with a lifespan limited to a few seasons for natural versions. Vegetation (wisteria, vine, jasmine) requires patience but produces a result that manufactured materials cannot replicate. The weight of mature vegetation must be anticipated when sizing the structure.
VAT and wooden pergola: an unknown tax advantage
Most DIY enthusiasts purchase their kit in-store at the standard VAT rate. For those who hire a professional for installation, one piece of information deserves attention. The Directorate of Tax Legislation has confirmed that the 10% VAT may apply to the installation of pergolas in certain specific cases: roof extensions on residential premises completed for more than two years, without surface enclosures or major works.
This provision applies to pergolas attached to the house, not to self-supporting structures installed at the back of the garden. The conditions remain strict, and not all craftsmen are aware of this possibility. Requesting a detailed quote mentioning the applicable rate clarifies the situation before committing.
Wood maintenance: what guarantees the longevity of the structure
The wood of a kit pergola is subjected to UV rays, moisture, and temperature variations. Without treatment, it grays in a few months and can crack. A saturator or a stain applied every year or every two years significantly extends the lifespan of the structure.
The wood species vary by kit. Treated pine resists insects and fungi but remains sensitive to graying. Exotic woods (if offered) require less maintenance but cost more. In any case, checking the wood’s use class indicated on the product sheet provides a reliable indication of its outdoor resistance.
- Class 3: outdoor use without direct contact with the ground, suitable for beams and girders
- Class 4: outdoor use with ground contact or prolonged moisture, recommended for posts
- Saturator: penetrates the wood and nourishes the fibers without forming a film, to be renewed regularly
- Stain: forms a protective surface layer, offers a choice of shades but can peel
The Brico Dépôt wooden pergola remains a good compromise between budget and customization, provided that the invisible steps are not underestimated: formalities, ground preparation, coverage choice, and regular maintenance. It is these decisions made in advance that separate a wobbly structure after two winters from a durable garden arrangement.